> ## Documentation Index
> Fetch the complete documentation index at: https://docs.clariti.site/llms.txt
> Use this file to discover all available pages before exploring further.
# Interface Overview
> Navigate the Clariti interface and understand each panel
This guide explains the main areas of the Clariti workspace and how to use them effectively.
## Dashboard Navigation
### Left Sidebar
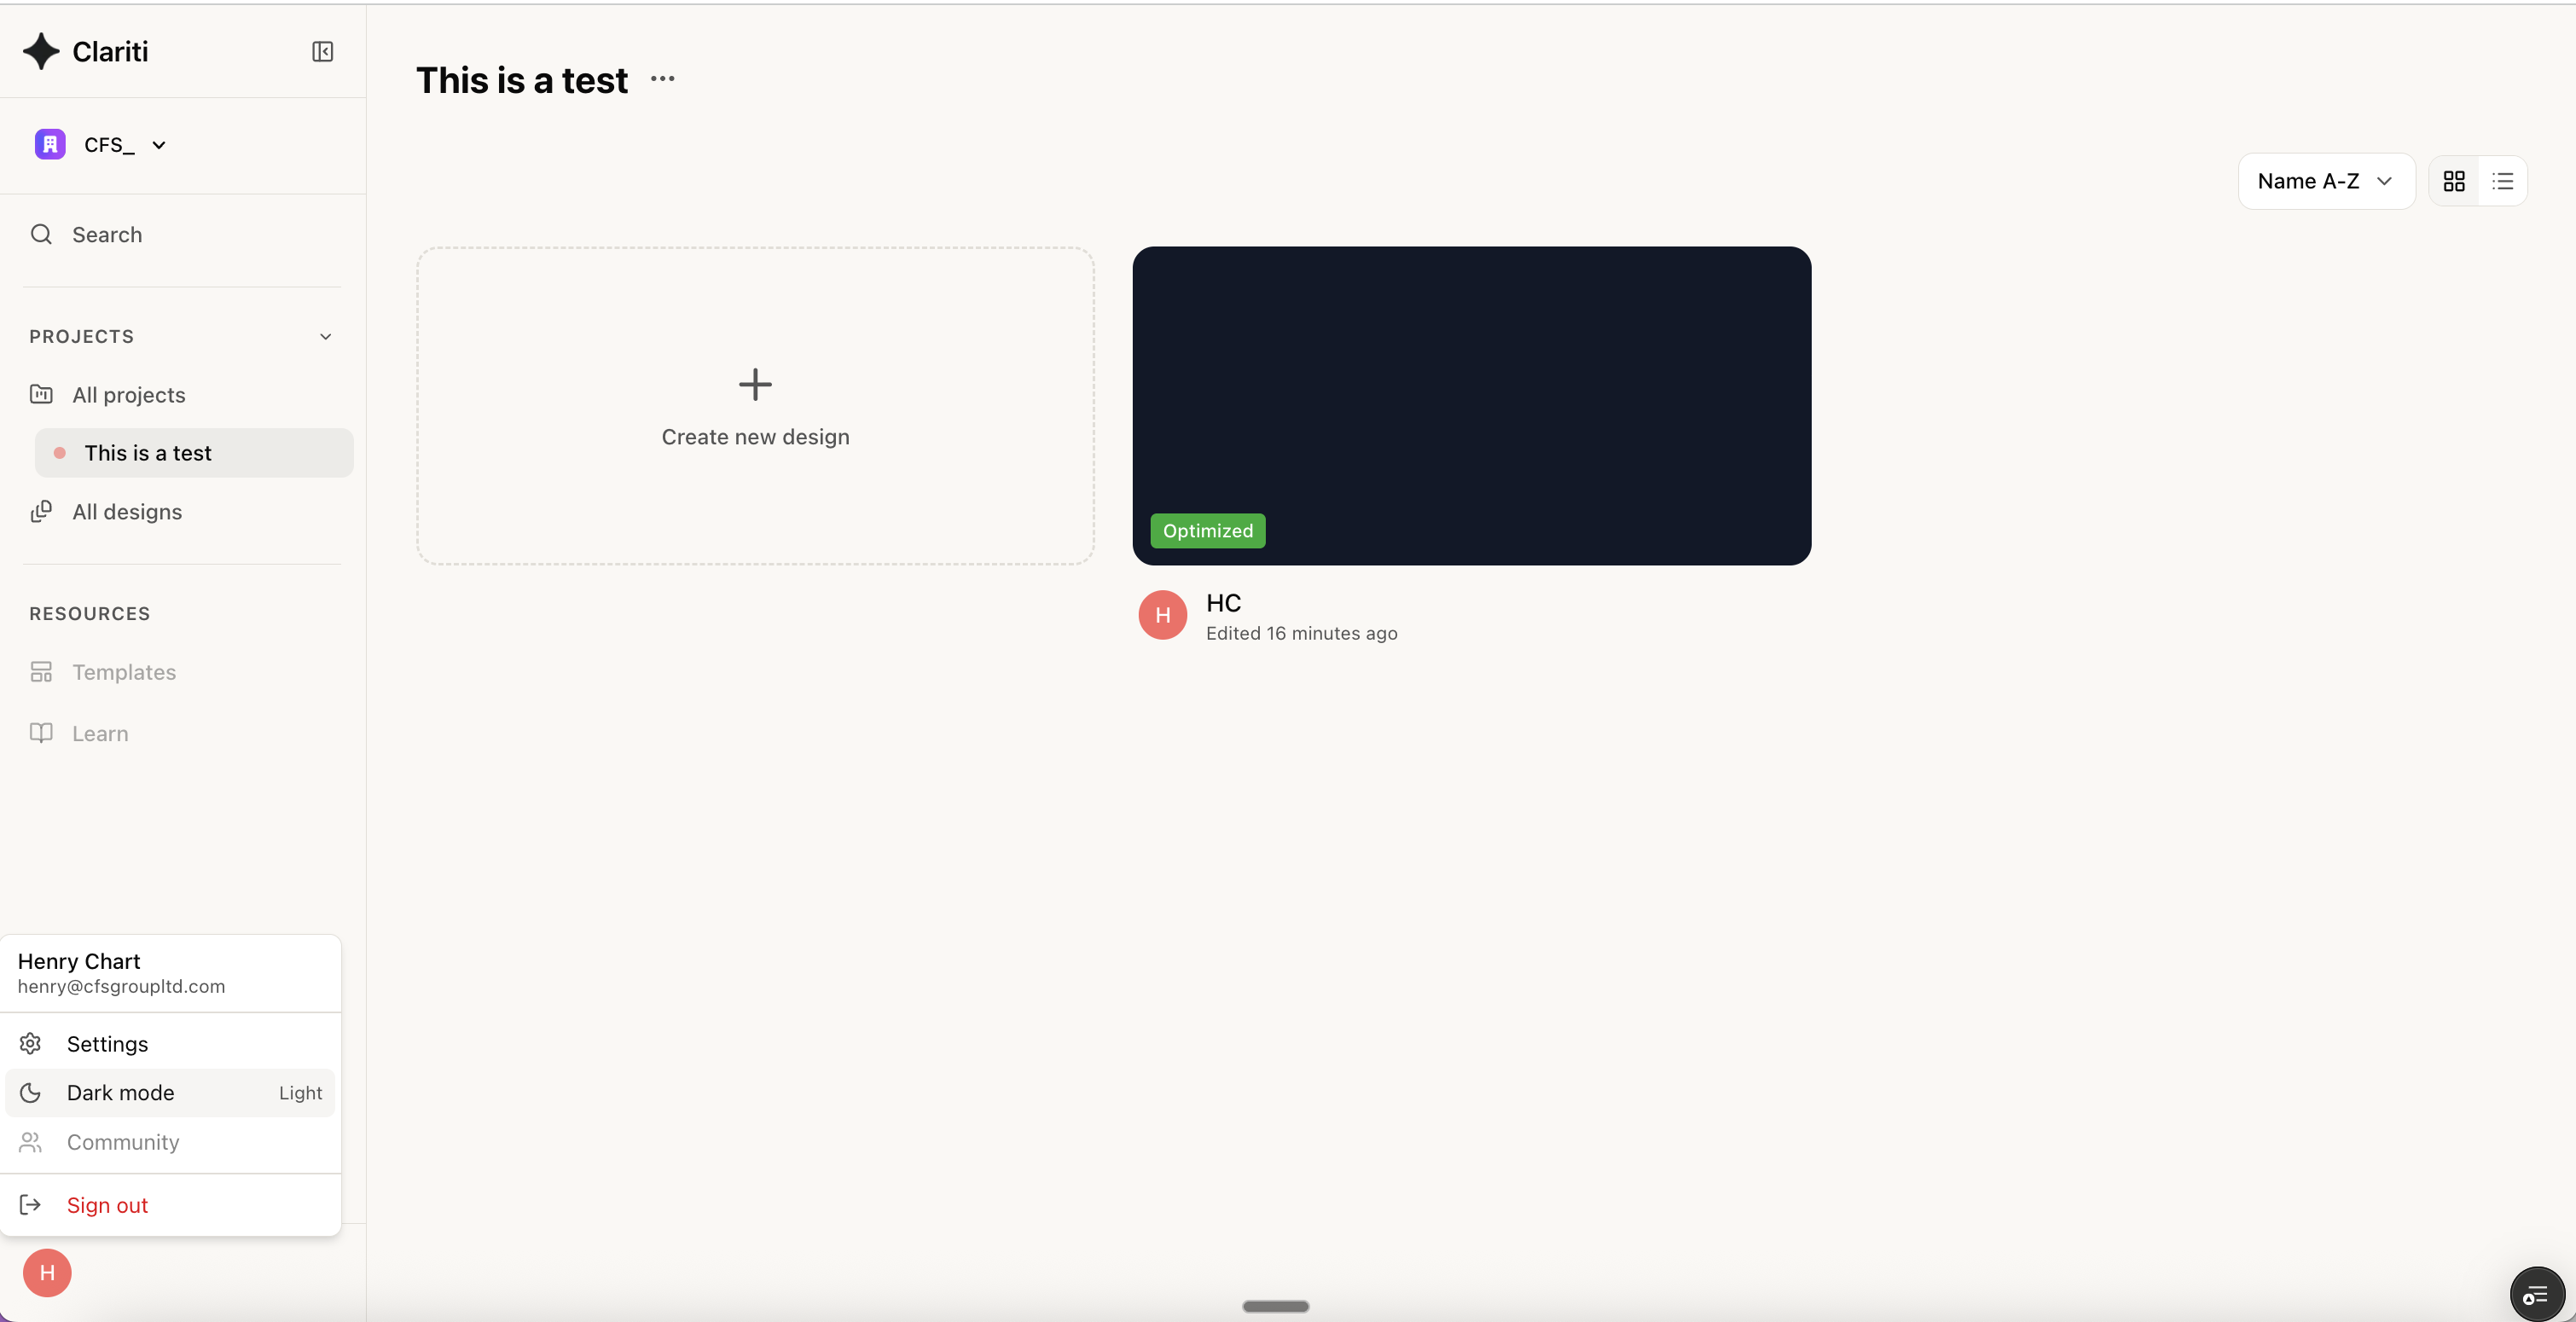
The left sidebar provides quick access to your projects and designs:
* **Organization selector** — Switch between different company accounts (top of sidebar)
* **Search** — Quickly find projects and designs
* **Projects** — View all projects or filter by specific project
* **All designs** — View all designs across projects
* **Templates** — Access pre-configured design templates
* **Learn** — Access documentation and tutorials
### Projects View
The main content area displays your projects in a list view with the following information:
* **Name** — Project title
* **Created date** — When the project was created
* **Created by** — User who created the project or "Shared" status for organization-wide projects
* **Action buttons** — Share, star, and more options for each project
Click **Create new project** to start a new project. You can star important projects for quick access by clicking the star icon next to any project.
### All Designs View
The All designs view shows all designs across all your projects in a single list, making it easy to find and access any design quickly. This view displays:
* **Design name** — Title of the design
* **Project** — Which project the design belongs to
* **Created date** — When the design was created
* **Created by** — User who created the design or "Shared" status for organization-wide designs
### Templates
The Templates section provides pre-configured design templates to help you get started quickly with common anchor channel configurations. Select a template to create a new design with pre-filled parameters that you can customize for your specific needs.
## Design Interface
The Clariti workspace is divided into key areas:
 The top bar provides:
* **Project name** — Click to access project settings
* **Design / Results tabs** — Switch between input mode and results view
* **Close** — Return to the project list
## Left Sidebar (Input Panels)
The left sidebar contains collapsible input panels:
### Product Selection
* **Channel Type** — Filter by channel family (e.g., All Channels)
### Applied Loads
* \*\*Position - \*\*from far left hand side of channel
* **Tension and shear forces**
### Lever Arms
* \*\*Lever Arm Length - \*\*length of arm in mm
* \*\*Degree of Restraint - \*\*between 1 and 2
### **Concrete Parameters**
* \*\*Edge Distances - \*\*c11, c12, e21, e22 all in mm. Select infinity by clicking on the ∞ icon.
* \*\*Member Thickness - \*\*concrete thickness in mm. Select infinity by clicking on the ∞ icon.
* \*\*Strength Class - \*\*concrete strength e.g. C50/60
* \*\*Crack Condition: \*\*cracked or uncracked
### **Reinforcement**
* \*\*Reinforcement Density: \*\*dense or widley spaced
* \*\*Splitting Reinforcement: \*\*Not PresentPresent
* \*\*Edge Reinforcement Type: \*\*none, straight edge, straight edge with stirups
Panels marked "Required" must be completed before running optimization.
## 3D Visualization (Center)
The main area displays your design in 3D:
### View Controls
Use the toolbar at the bottom of the viewport:
* **Camera presets** — Quick view angles (up, down, left, right, rotate)
* **Reset view** — Return to default perspective
### Export Options
Download 3D models directly from the toolbar:
* **DWG** — AutoCAD format
* **STP** — STEP file for CAD software
* **3DM** — Rhino 3D format
## Optimization Results Popup
After running optimization, a popup appears showing:
* **Ask AI** — Get AI assistance with your design
* **View Results** — Open the full results panel
## Bottom Controls
### Run Optimization
Click the **Run Optimization** button to calculate the optimal design based on your inputs.
### Design Edits / Chat Tabs
* **Design edits** — View history of changes made to the design, including parameter modifications and when they were made
* **Chat** — Access the AI assistant for help with your design. Ask questions about your configuration, troubleshoot issues, or get guidance on optimization
## Results Panel
Click **Results** in the top navigation or **View Results** in the popup to see:
### Summary
* Overall pass/fail status
* Utilisation percentage
* Key design values
### Detailed Calculations
Expandable sections showing:
* Reference clauses from EN 1992-4
* Input values and factors applied
* Step-by-step calculations
* Final resistance values
For the best experience, we recommend using Clariti on a desktop or laptop with a screen width of at least 1280px.
## Light vs Dark Mode
You can toggle between light and dark mode by clicking on the icon in the bottom left corner.
The top bar provides:
* **Project name** — Click to access project settings
* **Design / Results tabs** — Switch between input mode and results view
* **Close** — Return to the project list
## Left Sidebar (Input Panels)
The left sidebar contains collapsible input panels:
### Product Selection
* **Channel Type** — Filter by channel family (e.g., All Channels)
### Applied Loads
* \*\*Position - \*\*from far left hand side of channel
* **Tension and shear forces**
### Lever Arms
* \*\*Lever Arm Length - \*\*length of arm in mm
* \*\*Degree of Restraint - \*\*between 1 and 2
### **Concrete Parameters**
* \*\*Edge Distances - \*\*c11, c12, e21, e22 all in mm. Select infinity by clicking on the ∞ icon.
* \*\*Member Thickness - \*\*concrete thickness in mm. Select infinity by clicking on the ∞ icon.
* \*\*Strength Class - \*\*concrete strength e.g. C50/60
* \*\*Crack Condition: \*\*cracked or uncracked
### **Reinforcement**
* \*\*Reinforcement Density: \*\*dense or widley spaced
* \*\*Splitting Reinforcement: \*\*Not PresentPresent
* \*\*Edge Reinforcement Type: \*\*none, straight edge, straight edge with stirups
Panels marked "Required" must be completed before running optimization.
## 3D Visualization (Center)
The main area displays your design in 3D:
### View Controls
Use the toolbar at the bottom of the viewport:
* **Camera presets** — Quick view angles (up, down, left, right, rotate)
* **Reset view** — Return to default perspective
### Export Options
Download 3D models directly from the toolbar:
* **DWG** — AutoCAD format
* **STP** — STEP file for CAD software
* **3DM** — Rhino 3D format
## Optimization Results Popup
After running optimization, a popup appears showing:
* **Ask AI** — Get AI assistance with your design
* **View Results** — Open the full results panel
## Bottom Controls
### Run Optimization
Click the **Run Optimization** button to calculate the optimal design based on your inputs.
### Design Edits / Chat Tabs
* **Design edits** — View history of changes made to the design, including parameter modifications and when they were made
* **Chat** — Access the AI assistant for help with your design. Ask questions about your configuration, troubleshoot issues, or get guidance on optimization
## Results Panel
Click **Results** in the top navigation or **View Results** in the popup to see:
### Summary
* Overall pass/fail status
* Utilisation percentage
* Key design values
### Detailed Calculations
Expandable sections showing:
* Reference clauses from EN 1992-4
* Input values and factors applied
* Step-by-step calculations
* Final resistance values
For the best experience, we recommend using Clariti on a desktop or laptop with a screen width of at least 1280px.
## Light vs Dark Mode
You can toggle between light and dark mode by clicking on the icon in the bottom left corner.