Dashboard Navigation
Left Sidebar
The left sidebar provides quick access to your projects and designs:- Organization selector — Switch between different company accounts (top of sidebar)
- Search — Quickly find projects and designs
- Projects — View all projects or filter by specific project
- All designs — View all designs across projects
- Templates — Access pre-configured design templates
- Learn — Access documentation and tutorials
Projects View
The main content area displays your projects in a list view with the following information:- Name — Project title
- Created date — When the project was created
- Created by — User who created the project or “Shared” status for organization-wide projects
- Action buttons — Share, star, and more options for each project
All Designs View
The All designs view shows all designs across all your projects in a single list, making it easy to find and access any design quickly. This view displays:- Design name — Title of the design
- Project — Which project the design belongs to
- Created date — When the design was created
- Created by — User who created the design or “Shared” status for organization-wide designs
Templates
The Templates section provides pre-configured design templates to help you get started quickly with common anchor channel configurations. Select a template to create a new design with pre-filled parameters that you can customize for your specific needs.Design Interface
The Clariti workspace is divided into key areas: The top bar provides:
- Project name — Click to access project settings
- Design / Results tabs — Switch between input mode and results view
- Close — Return to the project list
Left Sidebar (Input Panels)
The left sidebar contains collapsible input panels:Product Selection
- Channel Type — Filter by channel family (e.g., All Channels)
Applied Loads
- **Position - **from far left hand side of channel
- Tension and shear forces
Lever Arms
- **Lever Arm Length - **length of arm in mm
- **Degree of Restraint - **between 1 and 2
Concrete Parameters
- **Edge Distances - **c11, c12, e21, e22 all in mm. Select infinity by clicking on the ∞ icon.
- **Member Thickness - **concrete thickness in mm. Select infinity by clicking on the ∞ icon.
- **Strength Class - **concrete strength e.g. C50/60
- **Crack Condition: **cracked or uncracked
Reinforcement
- **Reinforcement Density: **dense or widley spaced
- **Splitting Reinforcement: **Not PresentPresent
- **Edge Reinforcement Type: **none, straight edge, straight edge with stirups
3D Visualization (Center)
The main area displays your design in 3D:View Controls
Use the toolbar at the bottom of the viewport:- Camera presets — Quick view angles (up, down, left, right, rotate)
- Reset view — Return to default perspective
Export Options
Download 3D models directly from the toolbar:- DWG — AutoCAD format
- STP — STEP file for CAD software
- 3DM — Rhino 3D format
Optimization Results Popup
After running optimization, a popup appears showing:- Ask AI — Get AI assistance with your design
- View Results — Open the full results panel
Bottom Controls
Run Optimization
Click the Run Optimization button to calculate the optimal design based on your inputs.Design Edits / Chat Tabs
- Design edits — View history of changes made to the design, including parameter modifications and when they were made
- Chat — Access the AI assistant for help with your design. Ask questions about your configuration, troubleshoot issues, or get guidance on optimization
Results Panel
Click Results in the top navigation or View Results in the popup to see:Summary
- Overall pass/fail status
- Utilisation percentage
- Key design values
Detailed Calculations
Expandable sections showing:- Reference clauses from EN 1992-4
- Input values and factors applied
- Step-by-step calculations
- Final resistance values
For the best experience, we recommend using Clariti on a desktop or laptop with a screen width of at least 1280px.
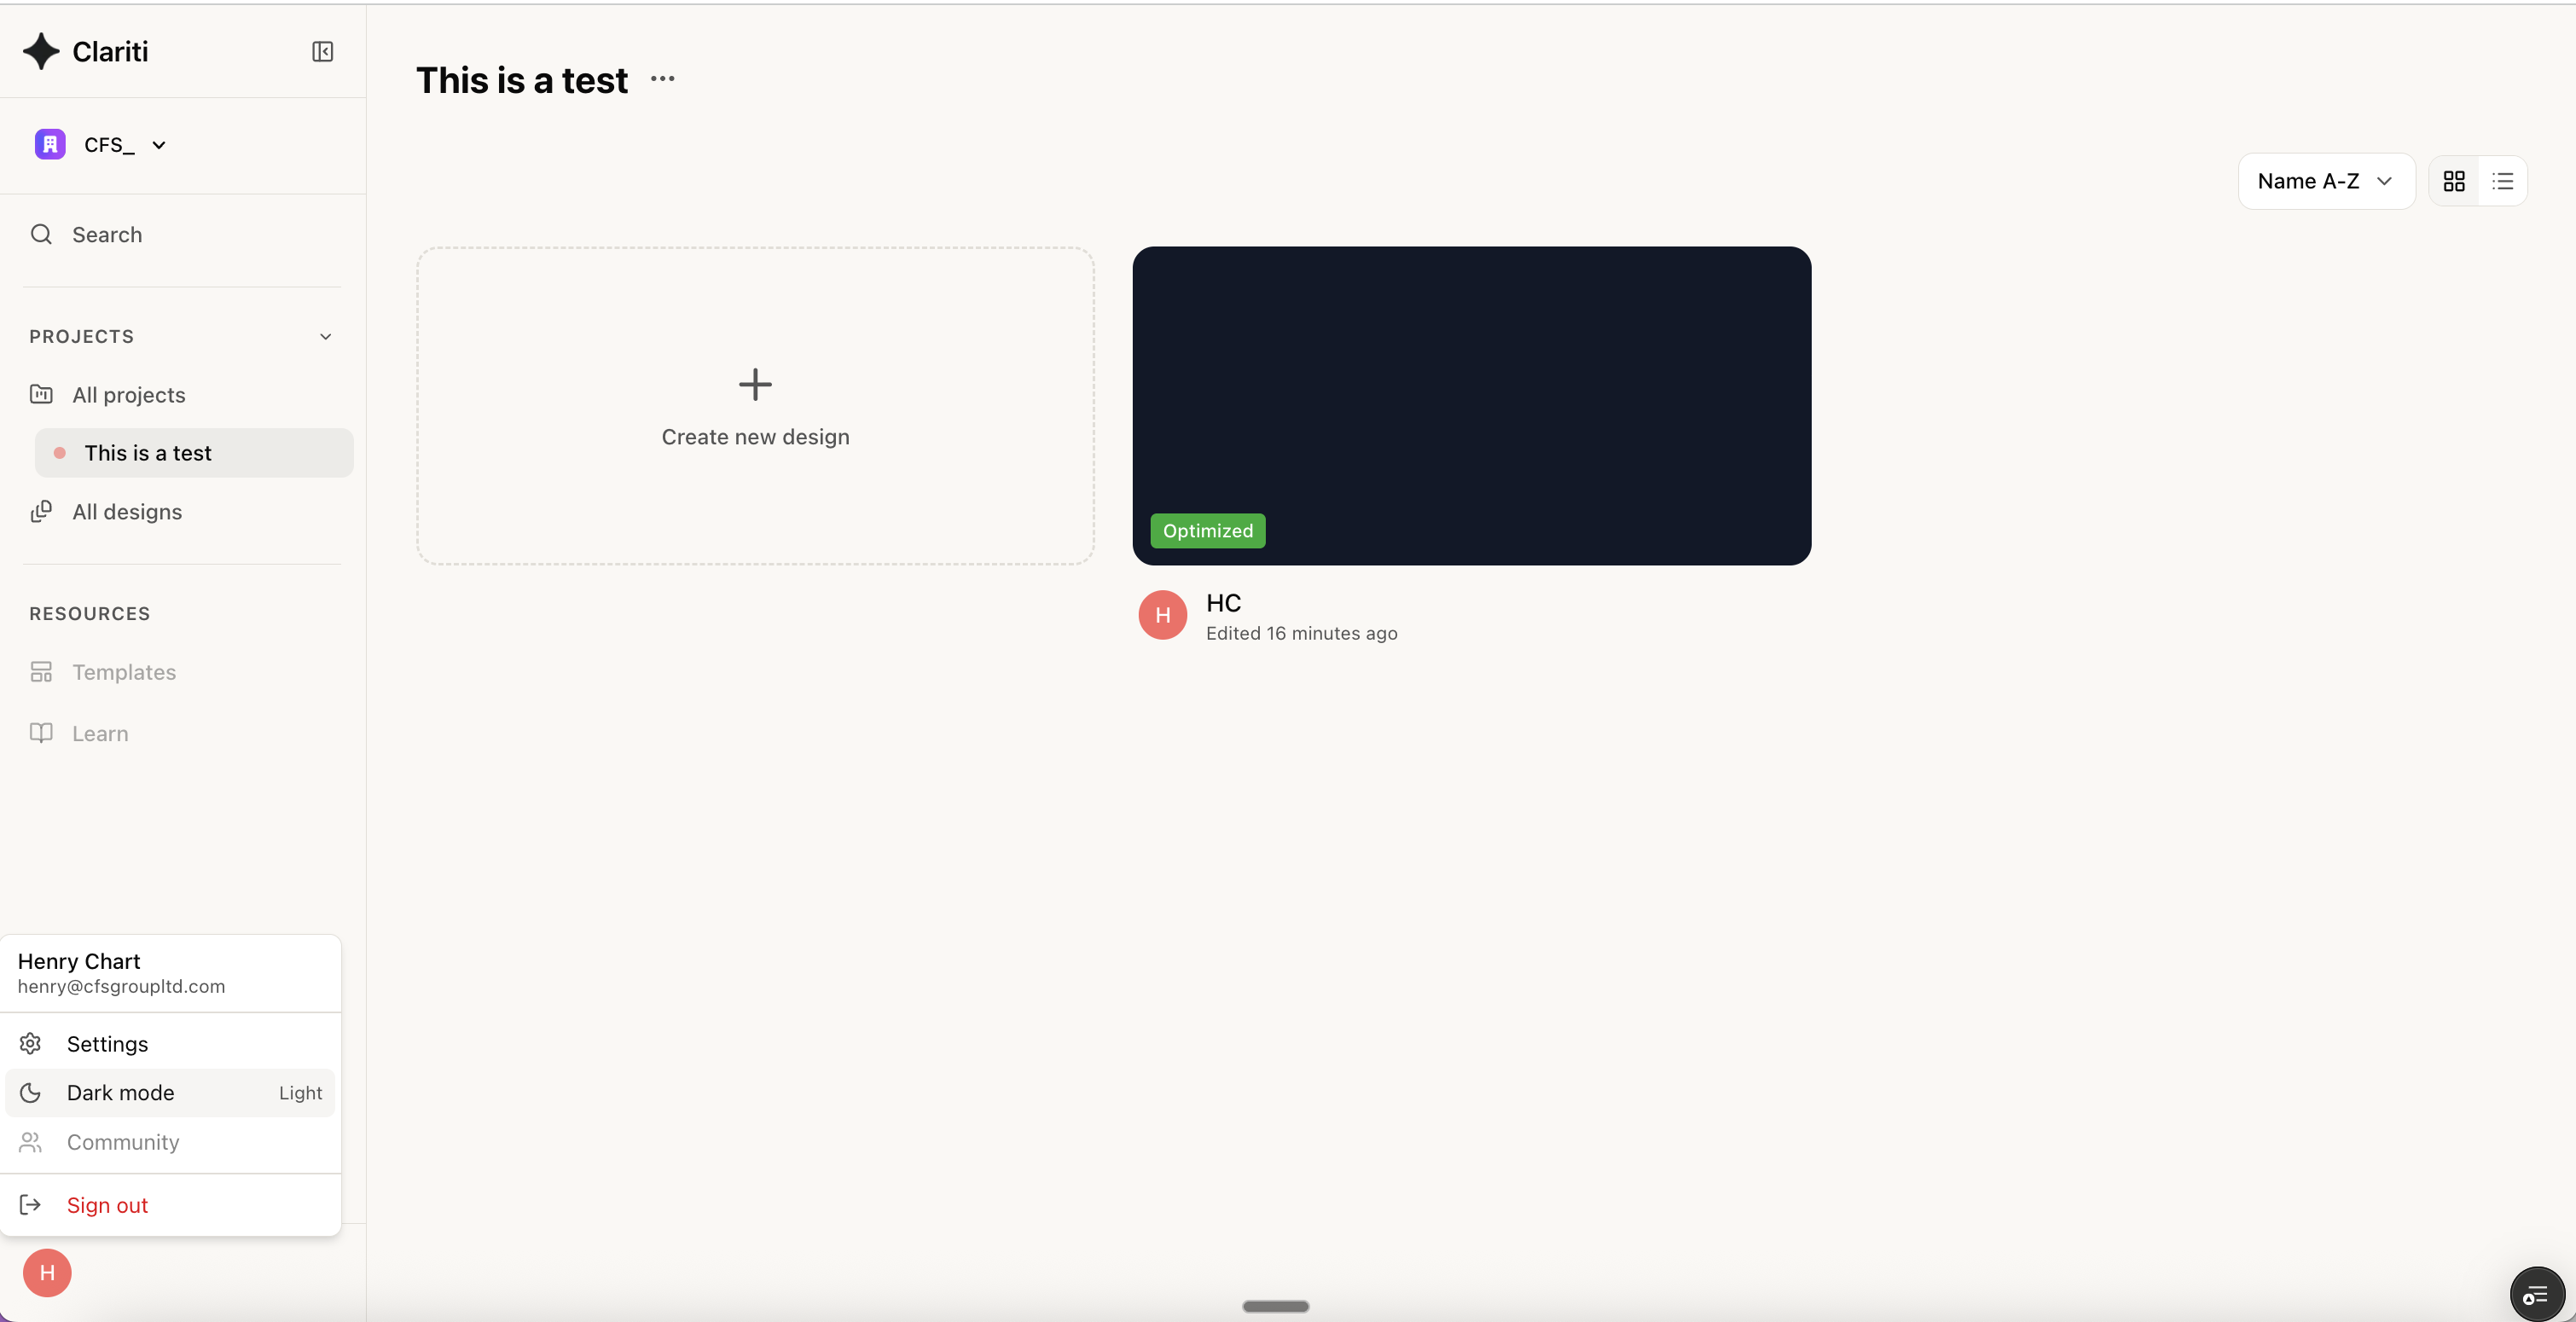
Light vs Dark Mode
You can toggle between light and dark mode by clicking on the icon in the bottom left corner.